Showing posts with label Bread. Show all posts

Tuesday, 16 May 2017

Butter & Cardamom Buns

I was back at the School of Artisan Food again this month, for their Food for Thought lecture weekend; not as a speaker this year, but a guest. Which meant I could fully enjoy it with no nerves. It was a brilliant weekend last year and proved so again this year. It's almost a bit overwhelming listening to that many fascinating speakers.

Over a sunny weekend on the Welbeck Estate we listened to Bronwen and Francis Percival talk about cheese, about tracing flavours back to what the cow eats in the field and everything along the way. Nicole Pisani and Oli Pagani spoke about the move from professional Nopi chefs to running school canteens for over 500 children. We heard about biodynamic soil, Pakistani seasons from Sumayya Usmani, spices, the power of food social media from Felicity Cloake, diet myths and gut microbes from Tim Spector, sustainable diets for the future from Professor Tim Lang, small food revolutions and much more besides, it was utterly fascinating, hugely educational and inspiring.


The School of Artisan Food is an amazing place, with the baking at the school being particularly impressive, over breakfast, lunch and afternoon tea we were served sour doughs, focaccias, malt loaves, crackers, cookies and amazing brownies...

I've been baking a bit more recently, we currently have a pork bun on the menu at Cook House. Pork we buy direct from the farm in Medomsley, it's a mangalitza, saddleback, middle white cross and it is so delicious, a real depth of flavour that I've not had the like of before. It seems only right to give it a freshly baked bun each morning. I guess these little buns have similarities with a brioche style bun, slightly sweetened, inspired by reading the Nordic Bakery book.

Get everything ready before you begin. Weigh out 500g of strong white bread flour and add a 7g sachet of dried yeast. Weigh out 75g of sugar and add 1 teaspoon of salt. You can add flavour at this point, I have used ground fennel seeds, ground cardamom or black pepper in the past, my favourite is the cardamom, add half a teaspoon of your chosen spice.

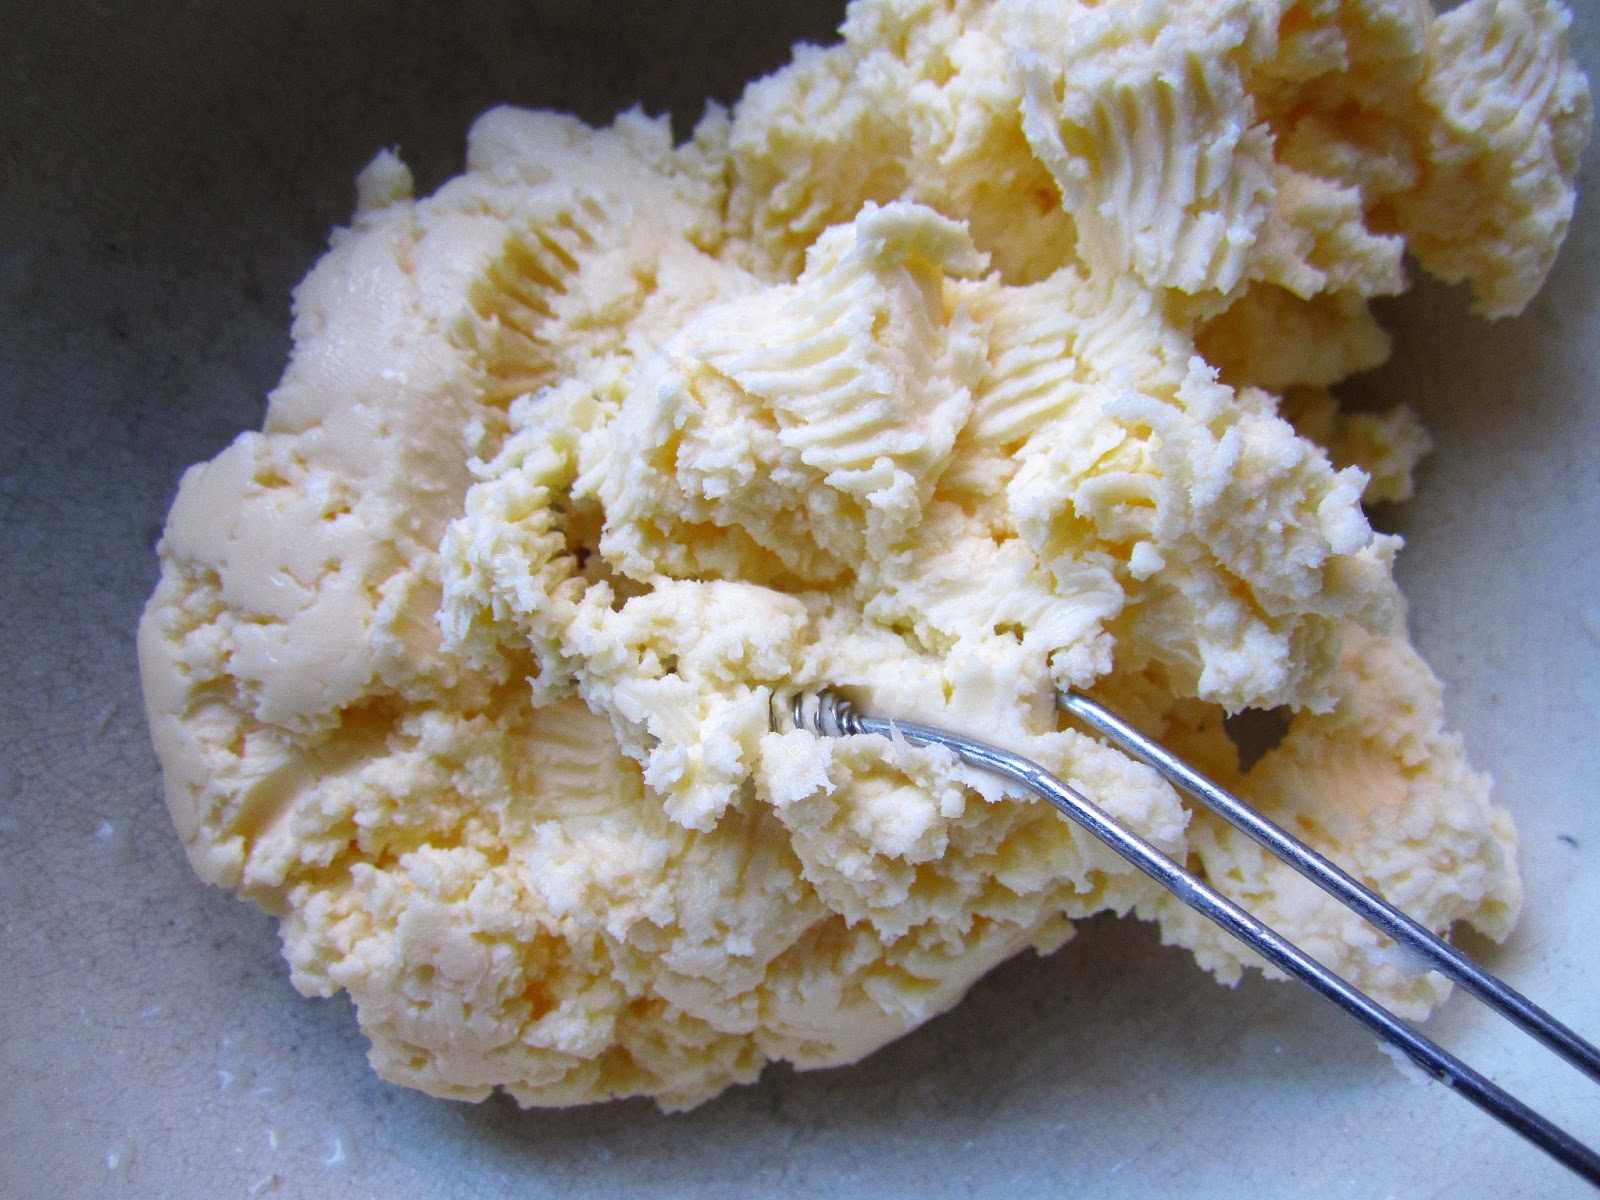
Weight out 75g of softened butter, and beat one egg in a separate bowl.

Heat 250ml of milk until warm, not hot, test it with your finger to check. Remove from the heat and add a couple of spoonfuls of the warm milk into the egg, mix, then add the milk and egg back into the milk pan. Then add in the sugar, salt and spice and whisk until it is all dissolved.

If you are using a stand mixer or Kitchenaid combine everything into the bowl, flour, yeast, butter and the milk mixture, and put it on to mix with a dough hook for 10 minutes.

If you are doing it by hand combine everything in a large bowl, bring it all together with a spatula and then turn out onto a floured work surface and knead for 10 minutes. It is quite a light sticky dough, so you may need to keep flouring your hands.

Bring the dough into a ball and leave it in a large bowl, covered with cling film in a warm spot for about an hour or until it is doubled in size. It starts about the size of a melon. The weather and temperature of the day have a huge difference on how quickly this happens, it won't take long on a warm sunny day and you'll get sick of waiting in the winter! After this time knead again for 10 minutes either by hand or in the mixer.

Now it is time to form the buns, tip out the dough and weigh it, for tiny buns divide by 20 and for larger buns divide by ten. If you do ten they end up roughly the size of a burger bun.

Cut off the correct amount of dough, it is usually about 95g for the larger buns, then holding your hand like a claw with the dough under it, move the dough round in circular motions on the work surface. You might need a little flour if it is really sticky but I find it easier to form without. The motion should be pushing the edges round and under and forming a neat little ball. I then dip the bottoms in flour and place on a baking tray lined with greaseproof a few inches apart.

Cover them all with cling film and let them sit for another half an hour. Then wash the tops with beaten egg and you can sprinkle on seeds or spice too.


Bake at 200˚C, 10 minutes for the tiny buns and approximately 15 minutes for the larger ones. I turn the larger ones after 10 minutes if they are not browning evenly, you want an even golden colour all over and they should sound hollow when you tap the bottoms. Then leave them to rest for half an hour before you dive in...

They are so bouncy and delicious, slightly sweet and buttery and especially good with cold butter or slow roast pork!

Wednesday, 3 December 2014

How to make Salt Beef

I was down in London earlier in the year, eating, which is usually what happens on a jaunt to London. I write up a strategic plan of how to eat in as many places as physically possible before the train home departs, at least three places per day, sometime more... I find inspiration, fullness to the extreme and a very empty purse ensues...

But earlier in the year for some reason we found ourselves hungry, on Brick Lane, mid afternoon, I’m not quite sure how the hunger had managed to make an appearance but... there before us was the famous brick lane bagel shop, so we queued and ordered salt beef bagels, and my god they were good... a different ball game, what even are those things in the shops they call bagels, the salt beef, the bagel, so good...


I returned home and started planning a salt beef bagel supperclub, it happened earlier in the year at The Cumberland Arms... and went down a treat, there was even beer matching, we called it 'Some like it Hops'... If you have never made your own bagels and like baking you must try it, it’s hugely satisfying and just a whole different species from a shop bought one, fresh, bouncy, a chewy delicious crust and soft inside, so good, I blogged about them earlier in the year here...

But now to the salt beef; I’ve been making my own since then, honing the recipe as I’ve experimented, I think I’ve got it down to a tee now, at least how I like it anyway. I began with a Tim Hayward recipe from the Guardian, a step by step photo thing which made it look easy, and to be honest, it is, it just takes a while... In simple terms you make a brine, brine some brisket for a while, then simmer it with stock vegetables and you have your salt beef, all ready to fall apart into your homemade bagel...


I favour a stronger brine, saltier in short, I think the meat ends up tastier, so I now use a St John recipe for a good strong brine. These amounts make 4 litres of brine, which is enough to brine up to 5kgs of brisket, just make less if you have a smaller piece. You can use this brine for loads of other recipes too, pork belly, ox tongue, other brisket recipes... In a large pan combine 400g caster sugar, 600g sea salt, 12 juniper berries, 12 cloves, 12 black peppercorns, 3 bay leaves and 4 litres of water. I also add 30g of Prague Powder #1 which contains saltpetre, a curing agent, which encourages the meat to turn that lovely pink colour and cure evenly. Bring everything to the boil to dissolve the salt and sugar then leave to cool to room temperature.


Then you can add your brisket. I add 5kg of brisket to this brine, in a big Tupperware bucket that I keep at the bottom of the fridge. I cut it into 4 or 5 pieces, not tied up, just loose, then weight it down with a few plates to keep the meat fully submerged. I have left it to brine for anything from 5 days to 15 days, a week is ideal. Turn the meat around every couple of days, so it cures evenly. If you are only doing a small quantity you can put it in a freezer bag and fill that with the brine and just turn it over each day.


When you are ready to cook the beef remove it from the brine, add it to a large pan with a whole onion cut in half, a carrot cut in half, 2 bay leaves, some parsley, a stick of celery, some peppercorns, a few juniper berries and lots of cold water so it is fully covered. Bring it to the boil and then let it simmer for 4 hours, a very gentle simmer, the water just wants to be moving a tiny bit, so you are cooking it very gently. After 4 hours the meat will fall apart into lovely pink shreds. You can serve it hot with horseradish cream and potatoes, or pull it apart and put it in a bagel with lots of Sweet Cucumber Pickle and English mustard. It’s a delight, sorry I haven’t told you about it sooner...


Sunday, 11 May 2014

Wild Garlic Damper Bread

If you're quick you can still catch the wild garlic season. They say once the flowers appear it is past it but I picked some in Jesmond Dene on Friday, the flowers were just beginning to bud, and as long as you get the fresh little leaves from the base it is still delicious. The bigger leaves are beginning to get a bit tough. You will know when you've found it as it is pretty pungent, a green leafy garlic smell filling the air...


My latest supperclub was a rustic French affair on Friday in the lovely tasting room at Carruthers and Kent. I served the wild garlic as part of the main course in a Spring Stew, cooked in butter with baby onions, asparagus, peas and courgettes, it was delicious alongside Confit duck and Pomme Anna, and went down a treat, thankfully...


I also made this little loaf last weekend in the Lake District where the wild garlic has only just appeared so you have a little longer over there. It is a very simple loaf that I saw Lorraine Pascal making on one of her programmes ages ago. I made a Red Pepper, Thyme and Anchovy Damper loaf a while ago which was delicious, so thought I'd give it a go with fresh wild garlic.


For this version I just made a little loaf so double the amounts if you want a larger loaf. To start heat your oven to 200°C and mix 225g of self raising flour with quarter of a teaspoon of salt, a teaspoon of extra virgin olive oil. Add 110ml of water and mix everything thoroughly until you are left with a ball of dough. Knead briefly until it is combined and smooth.


Dust your work surface with some flour and flatten out the ball of dough into a circle. I finely chopped a large handful of wild garlic. You could use any combination of fillings you fancy really; chopped green or black olives, roast soft garlic, diced chorizo, roasted tomatoes. Pile your filling into the centre of the dough and start to fold the edges over the top until it is sealed. Turn the dough over and knead it to distribute the wild garlic. The aim is a ball of dough with the filling mixed through evenly inside. Once you have it under control flatten it out a bit and squash the handle of a wooden spoon into it to create triangular segments.


Finally bake in the oven, Lorraine said 35 minutes for her olive version, mine took about 40 minutes, if you use wetter fillings it takes longer again. It should be golden and risen and sound hollow on the bottom when tapped. 
So green bread is a little strange visually, but it was delicious! It was TLI's birthday so we took it on a walk up the valley armed with a picnic basket and some fizzy wine. A thick piece of cold butter went perfectly with the bread, it tastes like garlic bread, funnily enough, but fresh and mild. Give it a go if you come across a patch while it lasts...


Monday, 21 April 2014

Homemade Bagels

I have been quite the traveller over the past month or so, from Hong Kong to the Lake District, with a long stretch in London between. I have been down in the big smoke working in two professional kitchens over the last fortnight. My first week took me to Rochelle Canteen, a wonderful little place in Shoreditch that serves breakfast and lunch and caters for various events and parties. The second week took me to Quo Vadis, at the heart of Soho’s busy restaurant scene. The aim being to gain a better insight into the professional kitchen, learn some new skills for the future and expand my horizons. I’ve been running my own dining events for nearly two years now and I thought it was about time I learnt a bit better how the professionals went about it. I will tell you more about what I learnt over the next week or so because a lot of it was incredibly delicious and interesting.


In the mean time back to recipes; all this travelling has meant very little time for recording anything I have cooked over the past few months, and there has actually been some pretty tasty stuff. I’ll start with these homemade bagels, a world away from what you buy in the supermarket, they are totally delicious. I was inspired by the famous Salt Beef bagels of Brick Lane, fresh bagels, stuffed with warm soft salt beef, pickles and English mustard. So good that I had to set about recreating them myself. The salt beef is brisket, brined for two weeks then braised for hours, I’ll share the recipe soon as it is definitely one of my new favourite things. But first the bagels...


These amounts will make 8 bagels. First take 450g of strong white bread flour and add 2 teaspoons of salt and 7g of dried yeast. Then combine 250ml of warm water, 2 tablespoons of honey and 1 tablespoon of vegetable oil, mix, add to the flour and bring together into a ball of dough. It shouldn’t be too sticky, add a bit more flour if it is and knead on a floured surface for 10 minutes.


Then leave to rise in a lightly oiled bowl covered with cling film for 3 hours in a warm spot. When it has risen, to at least double in size take it out of the bowl and divide into 8 pieces. Now for the bagel shaping; I found rolling them into a long thin sausage then joining the ends with a dab of water to be my preferred method. You can also make them into a ball, stick your finger through the middle and spin it around your finger a bit to widen it, but I found the holes in these bagels closed up more while cooking. When you have formed your bagels put them back on a tray, covered with cling film and let them rest for 10 minutes. Do not leave them much longer than this; you don’t want them to start to rise again. I had a disaster with one batch where the initial dough was a bit too soft and then I left them too long to rest and they were just too soft to poach or bake, I ended up with giant bagel pancakes.


Bring a large pan of water to the boil while they rest and add 3 tablespoons of honey, which gives the outside of the bagel a very slight sweetness, you can also use a dark treacle for added colour and a slightly different flavour. At the same time put the oven on at 220°C. When the bagels have finished their resting you need to poach them, I did 3 at a time in a very large pan, be careful not to over crowd them. Make sure the water is simmering, then carefully pick up your bagels one at a time and drop them into the boiling water. They will float and bob about, you need to poach them for 1-2 minutes on the first side, then turn them and poach for a further 1-2 minutes on the other side, then remove to a baking tray.


The longer you poach them the chewier a crust you will achieve. They will increase in size in the water and also look like they have a slight batter like appearance to the outside when you take them out. Continue until they are all poached and then brush the top of each bagel with an egg wash. You can also sprinkle them with poppy seeds or sesame seeds at this point if you fancy.


Place in the oven to bake for 20 minutes until they are golden brown. They really are a whole different species than those found in the supermarket, that always seem to taste of either nothing or cardboard. These are light and slightly sweet inside with a delicious chewy crust. Filled with salt beef, mustard and sweet cucumber pickle I found myself overcome with joy... one of the most satisfying meals I have ever made, if you can call a sandwich a meal, which I definitely do...


Sunday, 5 January 2014

The Shooter's Sandwich

I had read about the Shooter’s Sandwich previously in Elizabeth David’s ‘Summer Cooking ‘.’The wise’ she says ‘travel with a flask of whiskey and a Shooter’s Sandwich’. ‘With this sandwich a man may travel from Land’s End to Quaker Oats, and snap his fingers at both’. We didn’t go quite that far, but we did go for a picnic in the Lake District in December on one of the stormiest days of the year...

My aunt’s birthday falls on the 27th December and as a surprise her immediate family had planned a return to a childhood holiday home deep in the valleys of the Northern Lakes. The fact that it was December and had no electricity or running water did not deter us. I designed the menu, packed up the picnic baskets (waterproof) and set off from Newcastle laden with potted fish, pickles, terrines, homemade breads, a delicious sticky ginger cake and the Pièce de résistance, the Shooter’s Sandwich...


As the gale force winds and horizontal sheets of rain battered us on the drive over we received a phone call from the advance party, a tree was down blocking the road further ahead. Not to be deterred we followed instruction to stop for a coffee and wait for it to be cleared, thinking it might be hours some of the party were a bit down beat, there was talk of a Plan B; but before we had even finished our giant cheese scones we received instruction to proceed, the tree was cleared and we were back in business!


An early 20th century shooting lodge made of corrugated iron and timber, no electricity, water or lights, at the head of a deserted valley in a gale, an ideal picnic spot, and a pretty exciting one at that. Once the fire was on, glasses in hand and the indoor picnic laid out we were all set... the rain and wind battered us from the outside, noisy and insistent, but it was a unique picnic lunch I will remember for a long time.


To make the Shooter’s Sandwich you will need a large round crusty cob loaf or similar, 2 steaks, I used rib eye, 500g of mushrooms and 200g shallots, some garlic, a splash of brandy and Worchester sauce, some horseradish and Dijon mustard. I followed a Tim Hayward recipe this time, but am already geared up to free style it next time...


Slice a ‘lid’ off the top of the loaf and hollow out the centre, I kept the middle and froze it to use for breadcrumbs at some point. Finely chop the mushrooms and onions and sweat them in about 75g of butter until they are tasty and soft and have lost most of their moisture. Season with salt and pepper, some grated garlic, a shot of brandy and a splash of Worcestershire sauce.


Season the steaks and get a frying pan very hot; I cooked mine for 2 minutes each side, possibly a touch less, and they were medium rare, you want them to be on the pink side.

Then quickly assemble the sandwich, no resting required. Put the first steak into the bottom of the loaf; add all the mushroom mix, packing it into all the nooks and crannies, then the next steak on top. Spread the top of this steak with horseradish and spread the inside of the loaf lid with Dijon mustard. Pop it back on and then wrap the whole thing up in greaseproof paper tightly. Secure with four lengths of string and finally place between two boards, with some heavy pans or weights on top and press overnight.


To serve, cut the Shooters Sandwich into wedges still in its paper, along with some piccalilli or a good mustard, and a full winter picnic if you’re feeling adventurous. It’s delicious; the mushroom mix is so tasty with rich meat and sharp hot horseradish and mustard. Bring on the next picnic, rain or shine. I’d use a crustier loaf next time, this one was a little soft and I might also add a layer of horseradish to the base as I love it so much. This is the classic version, if you Google it there are many more, I’m going to stay away from the Parmo version, that’s a step too far... but a vegetarian one with pesto, mozzarella, roast peppers, aubergines and basil looked delicious.


Monday, 8 April 2013

Homemade Butter

Butter! It suddenly occurred to me the other week sitting at my desk... Homemade butter! Why had it never occurred to me before? I set about looking up how to make your own butter; whisk some cream is the short answer... Sounds pretty easy. I'm going to make my own bloody butter. No sooner had I announced my intention on Twitter someone suggested I smoked it, my goodness, what a brilliant idea. I love butter, I love smoked stuff, happy days. So far I have only got as far as making the butter, I will smoke the next batch and keep you posted. I was just a bit too excited not to eat this lot straight away. There were hot crossed buns and fresh bread hanging around, realistically the butter wasn’t going to last long.


So on a sunny Good Friday morning I began my foray into the world of butter making. The arrival of the sun was as welcome as the butter. I am becoming so fed up with winter clothes and constantly being cold. It's still cold, but over Easter weekend we had lunch outside in the sunshine, up the coast in Newton, it was delightful! This never ending winter is finally showing some signs of coming to an end. I also dashed off to Lisbon for a few days last week to watch Newcastle lose a football match; but on the plus side I didn’t wear a coat or socks the whole time I was there! I loved Lisbon, so pretty and friendly, I'll post a few photos soon...

So some things I learnt before I began the butter; everything needs to be spotlessly clean; bowls, sieves, spoons etc... Start with your cream at room temperature as this will give you a head start, so leave it out of the fridge for up to 48 hours before you start. Look out for cream that has been reduced, bargain homemade butter is even better... It is a superstitious process historically, because things often went wrong, scattering primroses over the threshold and using a dead man’s hand to stir the churn were both recommended. Luckily this batch worked out well without flowers or dead people...


I Started with 600ml of thick double cream, it was on offer and I figured using a thick double cream would give me a little bit of a head start. In short you whip and whip until you get butter... I used a hand whisk and it probably took about 15 minutes and a bit of a sore arm, but is by no means unachievable. If you have an electric whisk then even better, you’re in for an easy time..

First the cream thickens and I couldn’t tell if I was imagining it turning slightly yellow or not. After it reaches a very thick stage little flecks start to form in it, this is butter. Keep beating it, it will turn grainy in appearance and finally you will find it sloshing around in a pool of buttermilk as it separates fully.


Place it all in a sieve with a bowl below, keeping the buttermilk, which you can drink or make a soda bread loaf from. I went with the latter, my own bread and butter, I was so proud! Return the butter to the bowl and beat it a bit more, and drain again. Then take a clean bowl full of very cold water and add the butter, squeezing it and washing it to remove any last buttermilk. I changed the water a few times, washing the butter until the water stayed clear. The buttermilk makes the butter go off much quicker, so you need to get it all out. Finally I added salt, you don’t have to, but it keeps much longer and I prefer it personally... Add ¼ of a teaspoon for every 110g of butter. From 600ml of cream I got 315g of butter, which I wrapped in little parcels of greaseproof paper and took on my trip up the coast.


It's so delicious, I made a soda bread loaf with the buttermilk, and it might have been my imagination but it was some of the best bread and butter ever, perhaps it was the sunshine and I was a bit giddy... It was so creamy and smooth and lovely, I cant wait to make it again. I will try cold smoking some, and perhaps flavour some with garlic, wild garlic or anchovies... Definitely one of my new favourite discoveries.